Getting started
RIDR opens on the subscription screen. There is no account to make and nothing to sign in to — the first thing it asks is whether you want to start the trial.
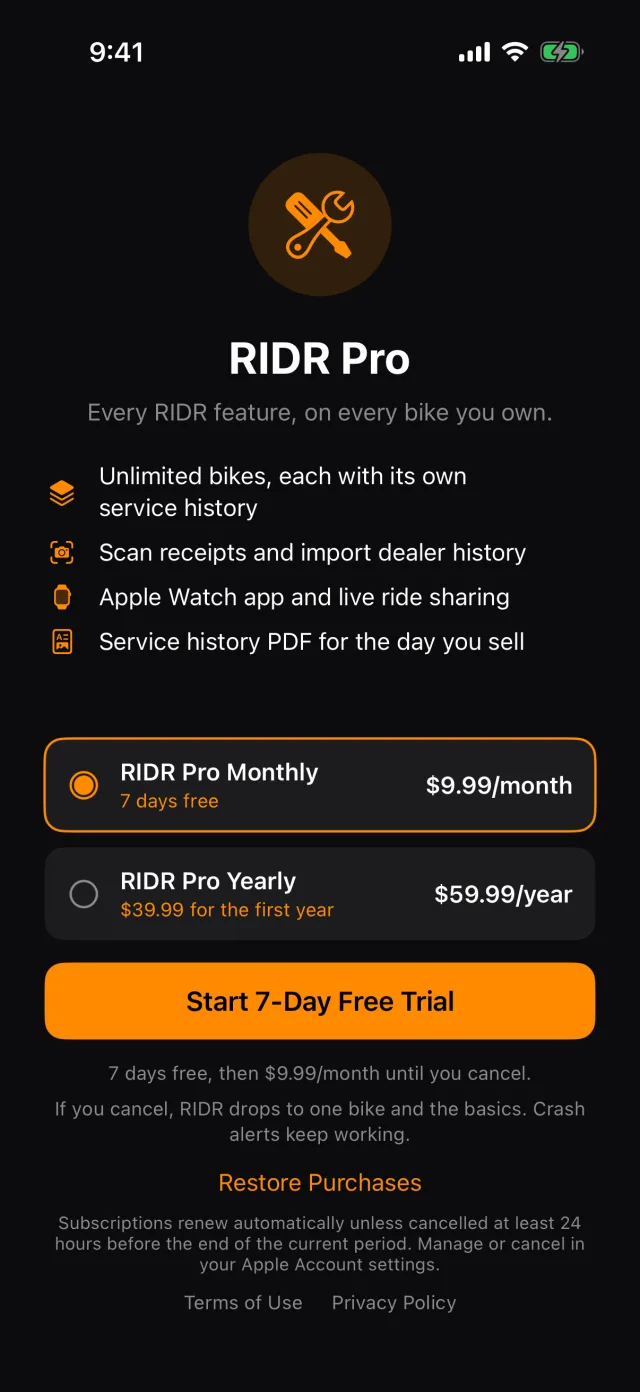
Starting the trial
- RIDR Pro Monthly is already selected, because it is the plan that carries the free trial. The screen tells you what the trial becomes when it ends.
- Tap RIDR Pro Yearly instead if you would rather pay for the year. The button changes to Subscribe, because the yearly plan's offer is a discounted first year rather than a free week.
- Tap Start 7-Day Free Trial.
- Already subscribed, on a new phone? Tap Restore Purchases.
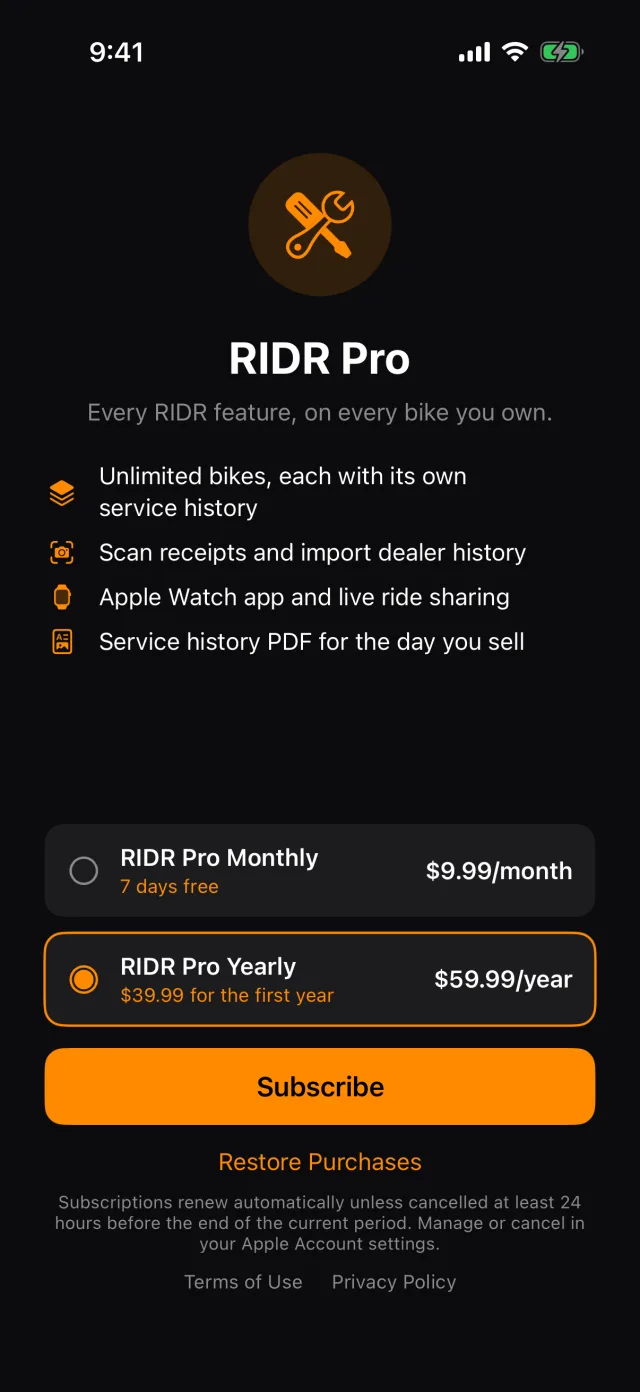
Tip: Everything you log is yours and stays yours. If you stop paying, nothing is deleted and no bike is taken away — RIDR keeps the whole garage and simply stops you adding another. The Pro chapter sets out exactly what changes.
The two permission screens
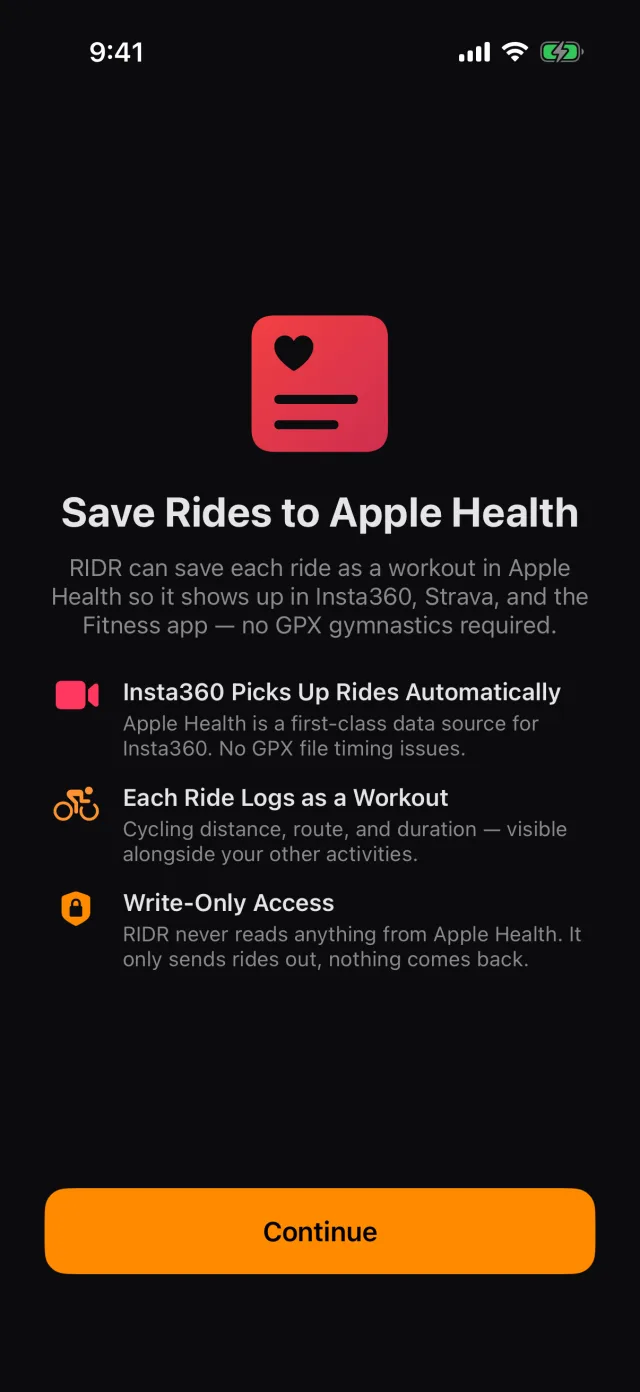
Once you are through, RIDR explains what it wants before iOS asks for it, so you know what you are saying yes to.
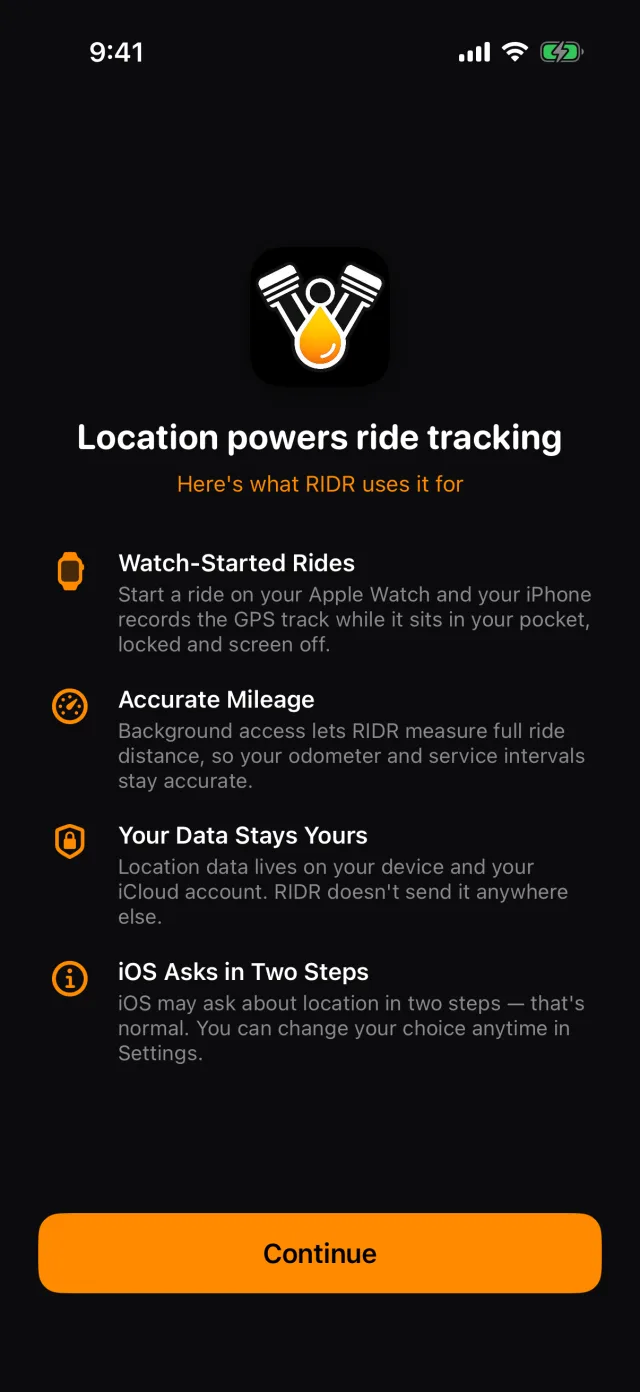
- Read the location screen and tap Continue. iOS then asks its own question. Allowing background location is what lets RIDR record a ride while the phone is in your pocket with the screen off.
- Read the Apple Health screen and tap Continue. This one is write-only: RIDR sends rides out as workouts and never reads anything back.
Tip: Saying no to either is fine. Rides still record with "While Using" location; you just lose the screen-off recording. You can change both later in iOS Settings.
Your first bike
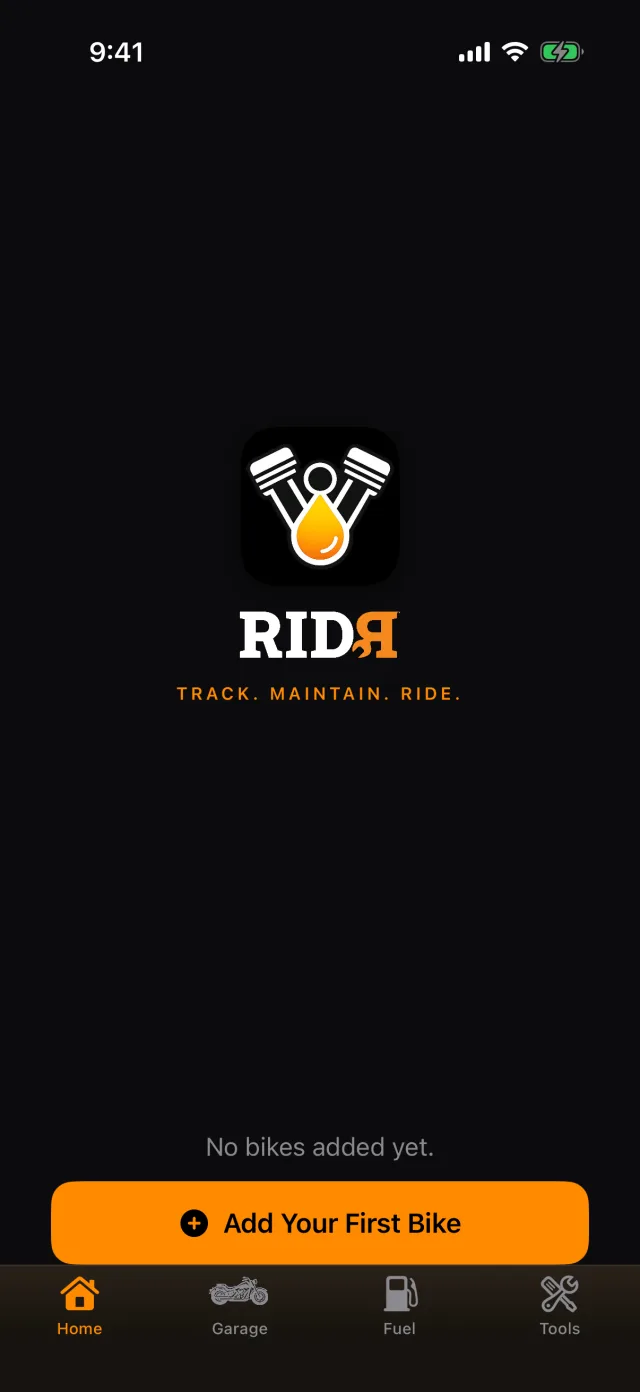
- Tap Add Your First Bike.
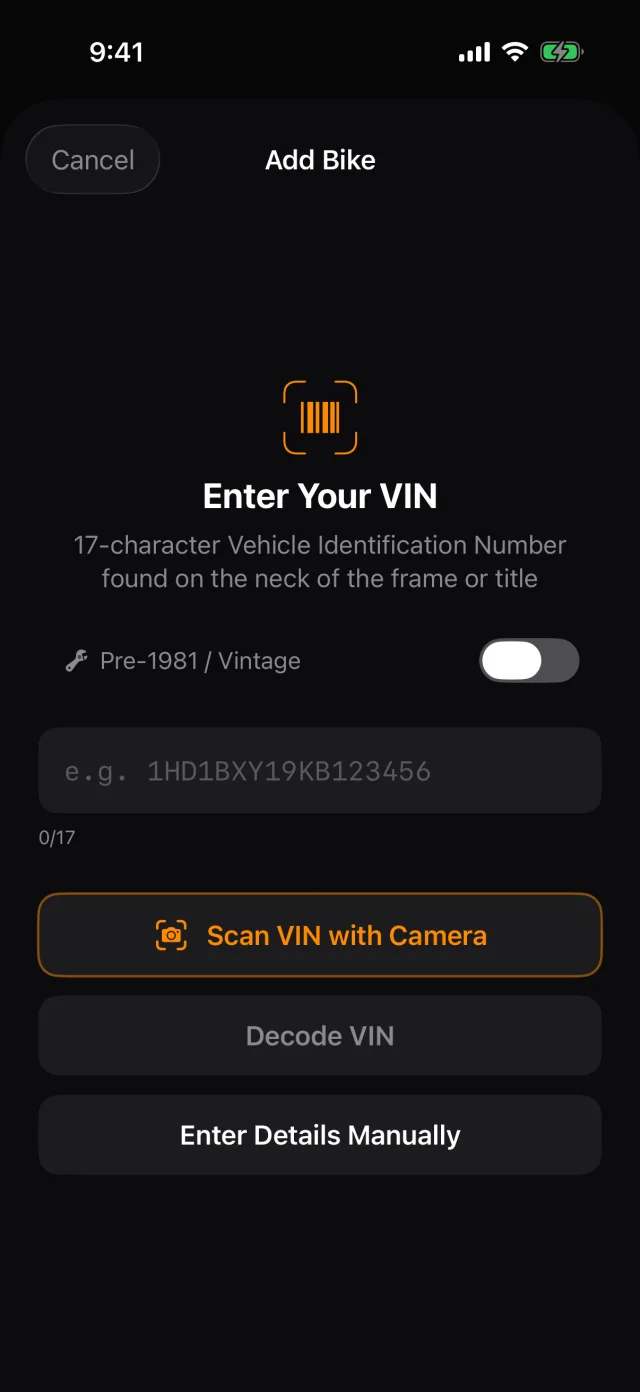
- Type the 17-character VIN and tap Decode VIN, or tap Scan VIN with Camera and hold the phone over the number on the frame neck. RIDR fills in the year, make and model for you.
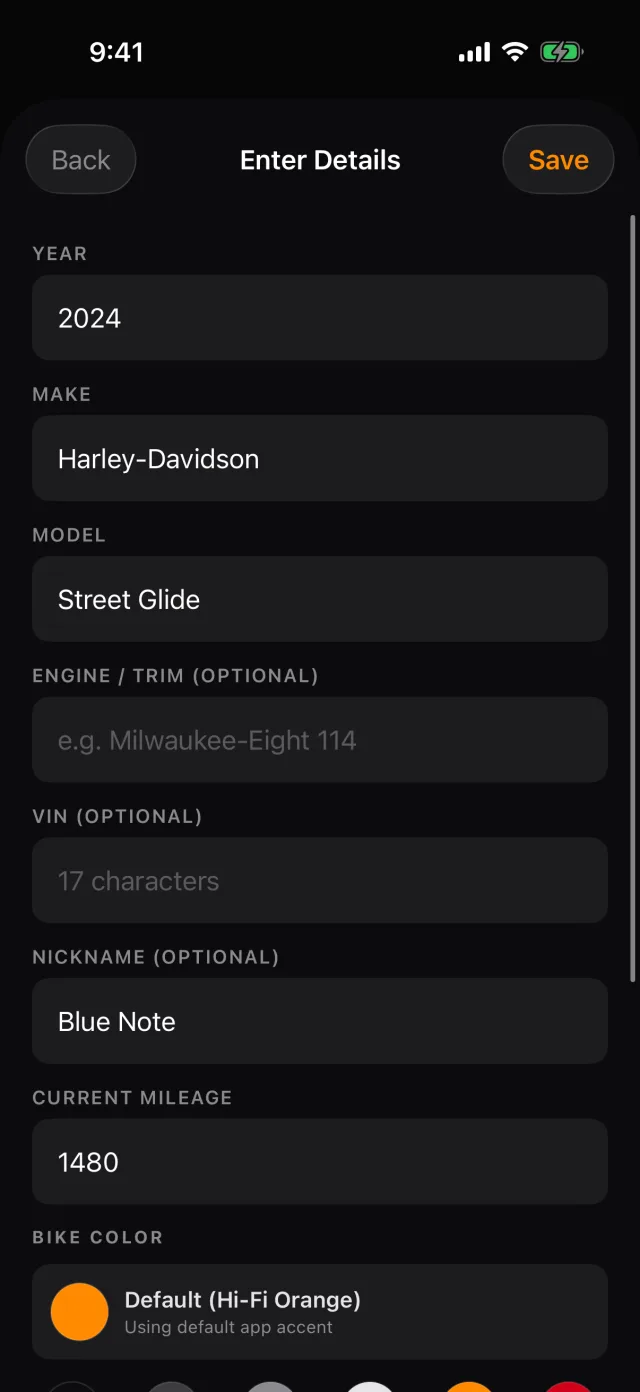
- No VIN, or a pre-1981 machine? Turn on Pre-1981 / Vintage, or tap Enter Details Manually and type the year, make and model yourself.
- Give it a nickname and the odometer reading. Both are optional, and both make everything afterwards easier to read.
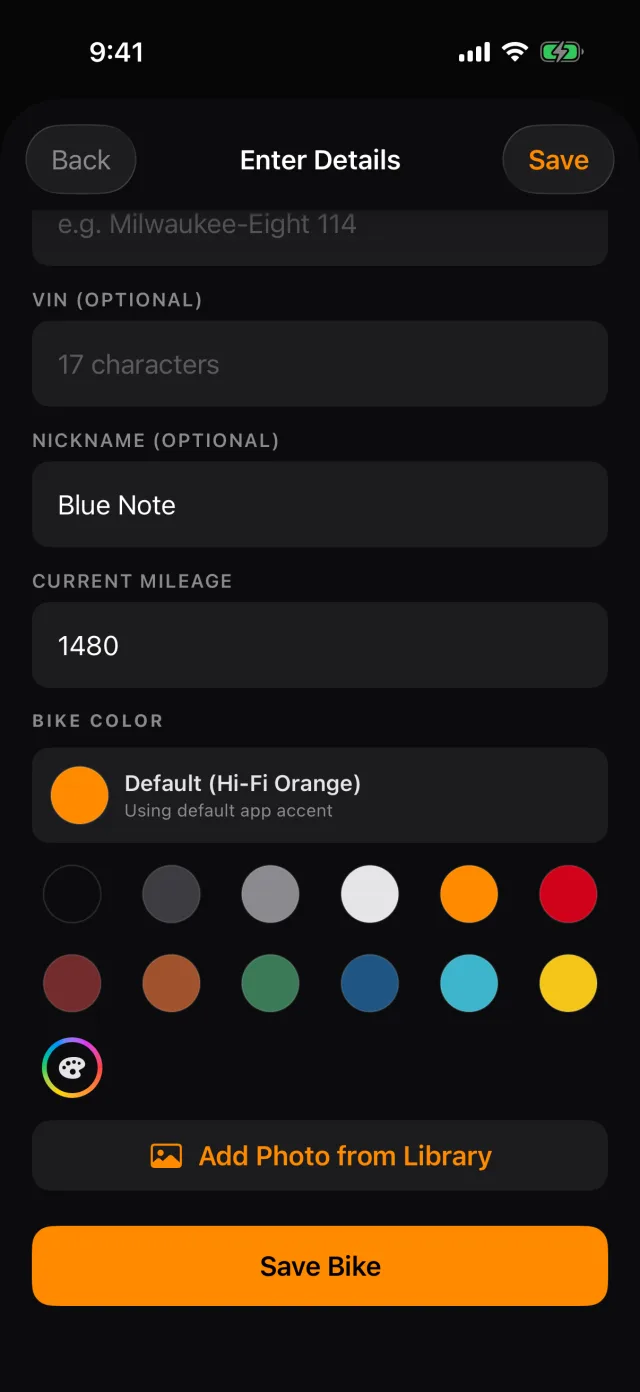
- Pick a color if you want one — it tints the bike's cards.
- Tap Save Bike.
- Back on the dashboard, tap the empty photo panel to put a picture of the bike at the top.
RIDR looks the bike up in its own spec database — 42,227 machines, back to 1894 — and fills in the service intervals, fluid capacities and tyre sizes it knows.
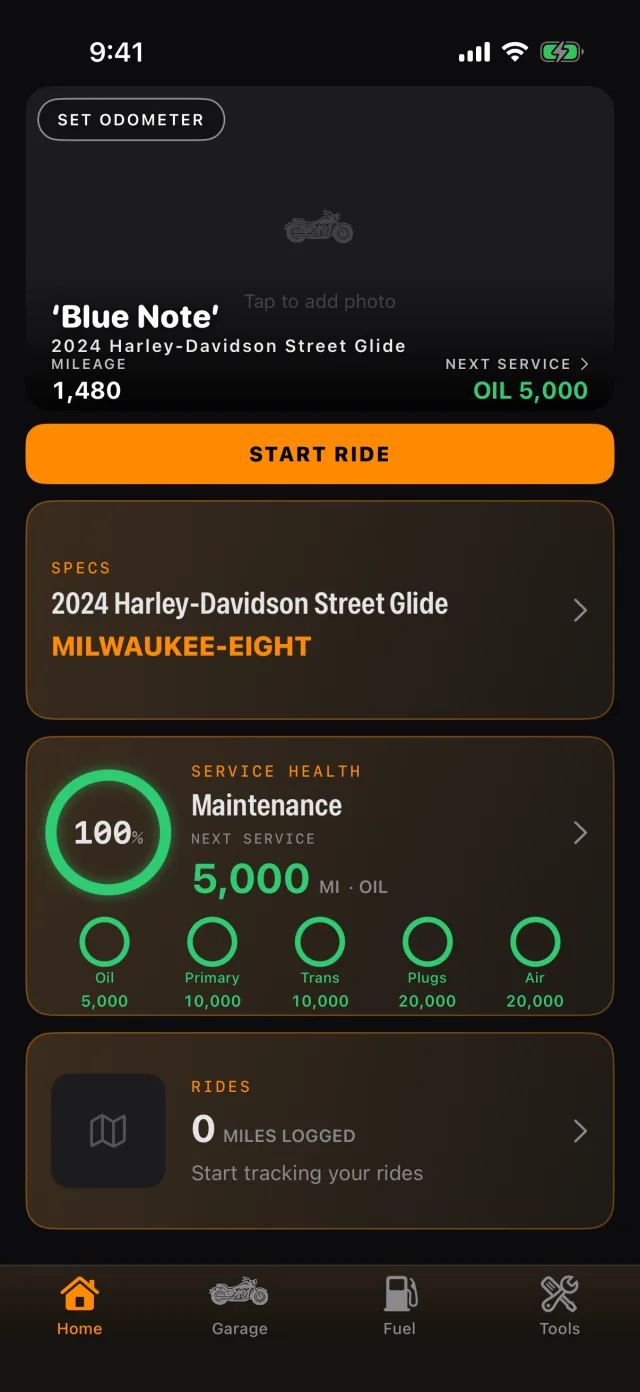
Shot from RIDR 3.17 (build 125) · 7 October 2026