Logging service
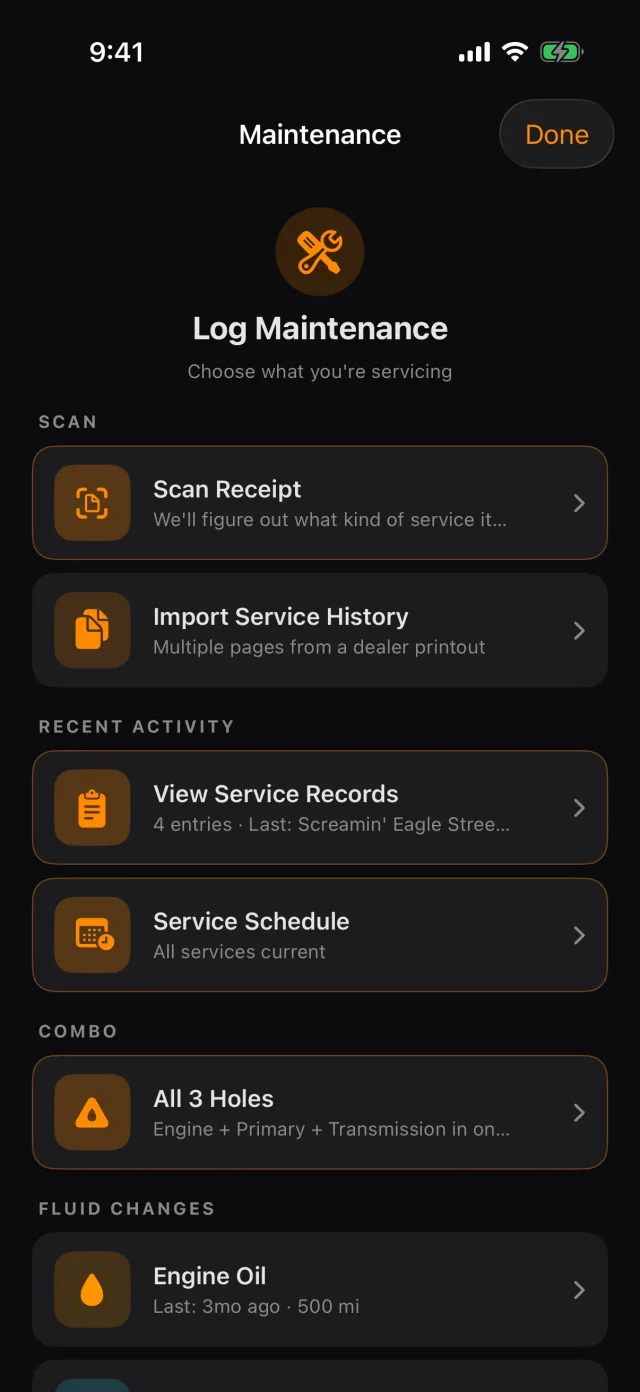
Everything to do with wrenching starts in one place. Tap the SERVICE HEALTH card on the dashboard.
What the rows are for
- Scan Receipt reads a photograph of an invoice and works out what kind of service it was. It is the top row because the receipt already knows — asking you to pick a type first is backwards.
- Import Service History takes a multi-page dealer printout in one go.
- View Service Records and Service Schedule are the two ways to look at what has already happened.
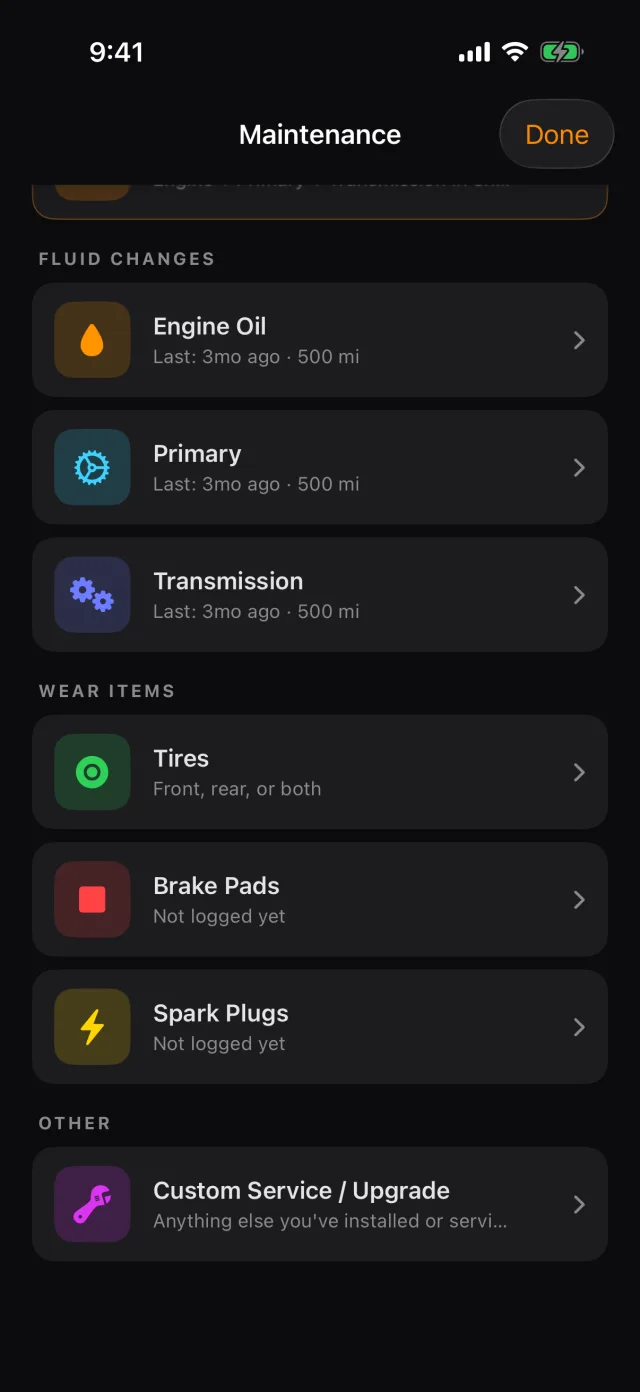
- All 3 Holes logs engine oil, primary and transmission as one visit. It only appears on Harley-Davidsons, because nothing else has a primary chaincase.
- The rest log one thing each.
Logging one service
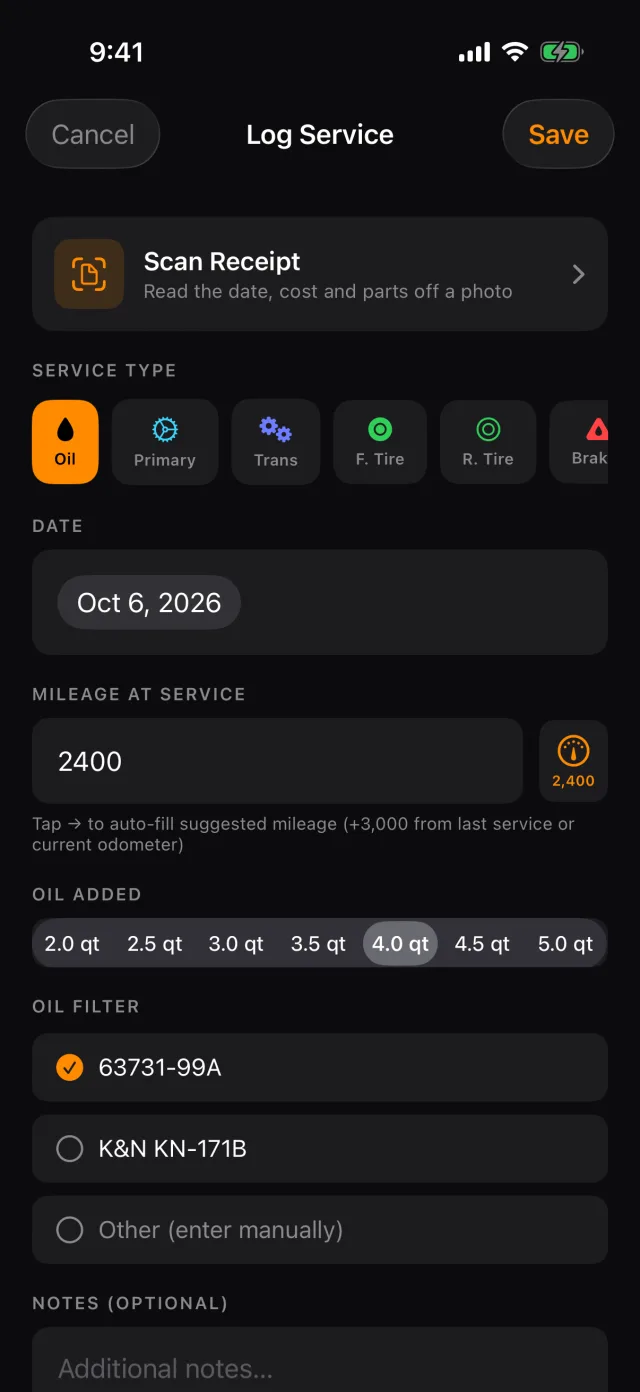
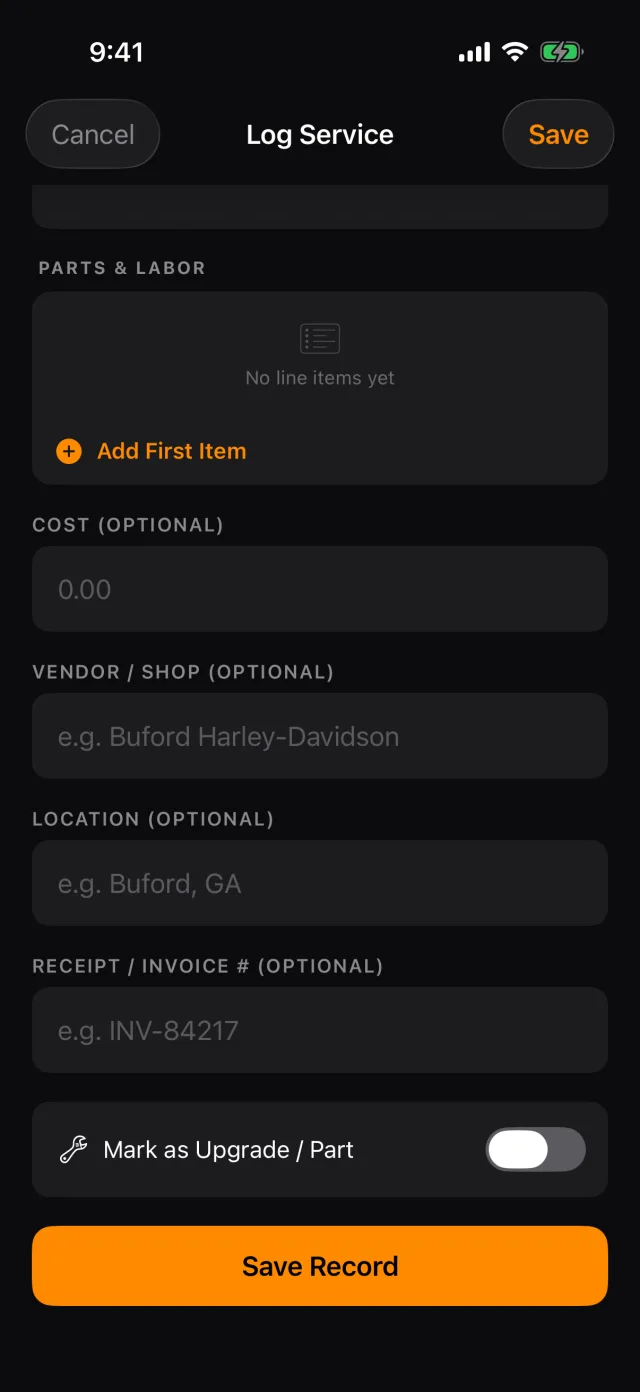
- The date and the current odometer are filled in already. Change either.
- Tap the arrow beside the mileage field to fill in a suggested reading.
- Pick the quantity you put in, and the filter you used.
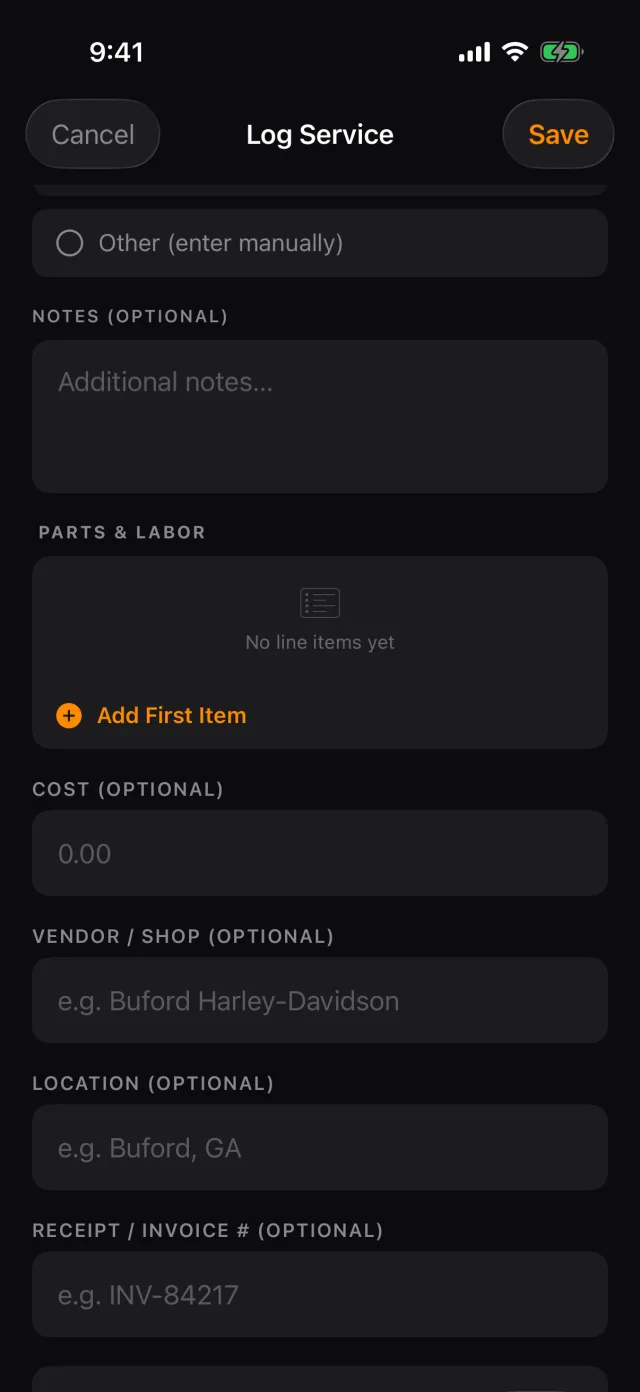
- Add the cost, where you had it done, and the invoice number if you want them.
- Mark as Upgrade / Part turns the record into a modification rather than a service — it then shows an UPGRADE badge instead of counting toward an interval.
- Tap Save Record.
All three holes at once
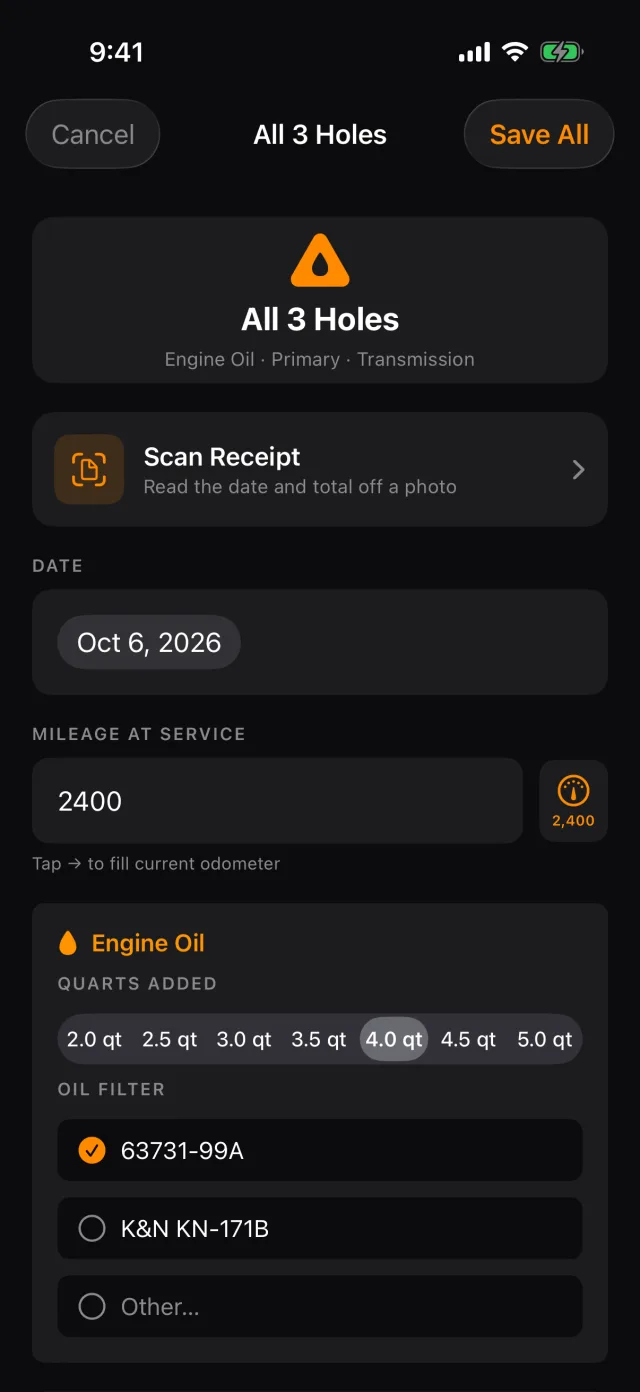
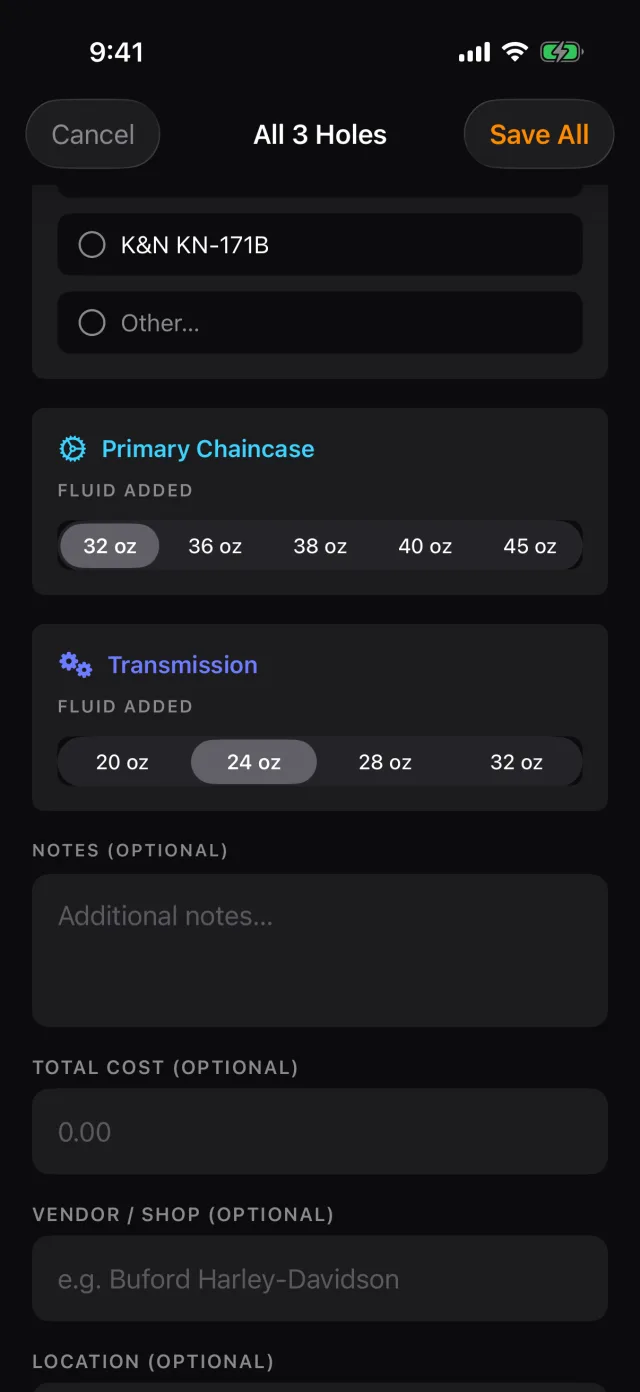
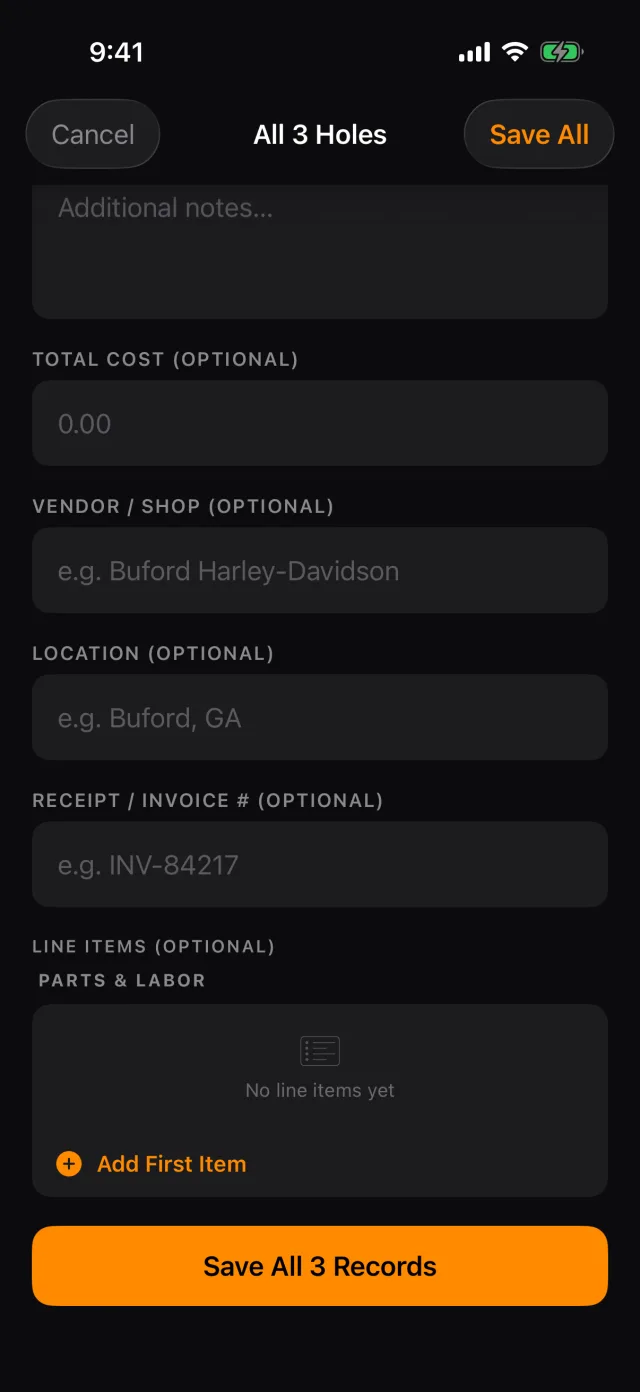
- Set the date and the mileage once.
- Fill in the quarts of engine oil, the filter, and the ounces of primary and transmission fluid.
- Tap Save All 3 Records.
RIDR writes three records and ties them together, so your history shows one visit rather than three loose entries.
Tyres
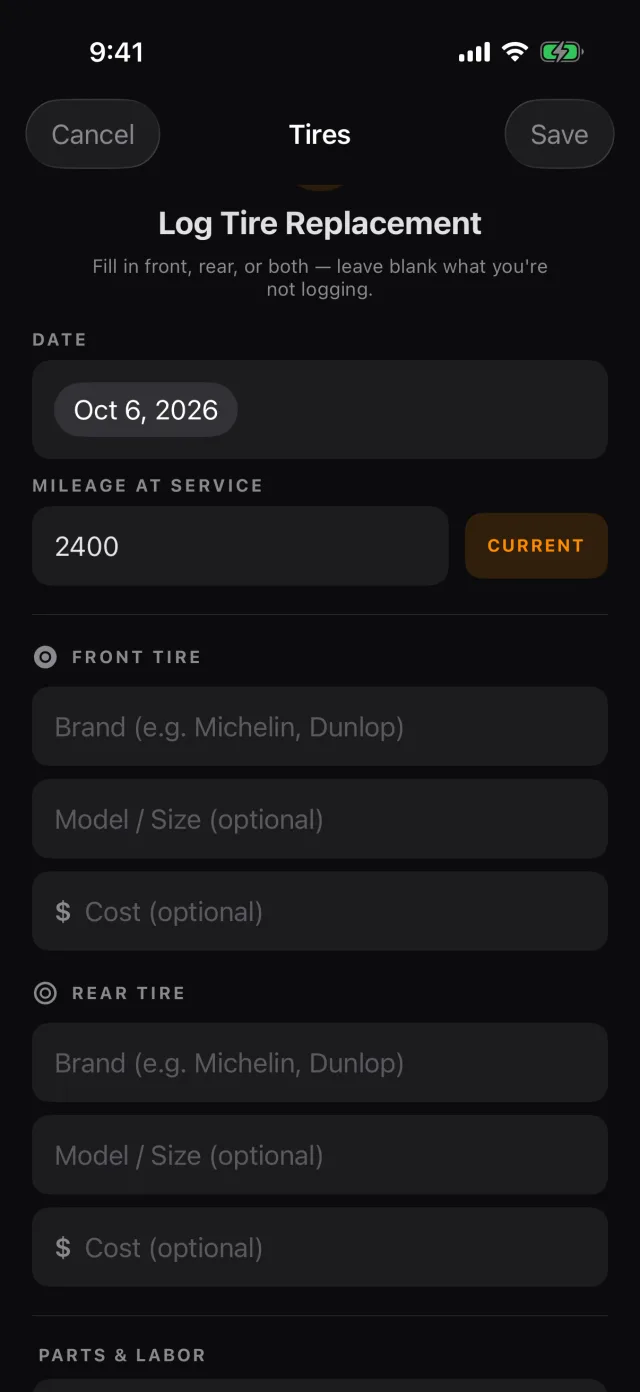
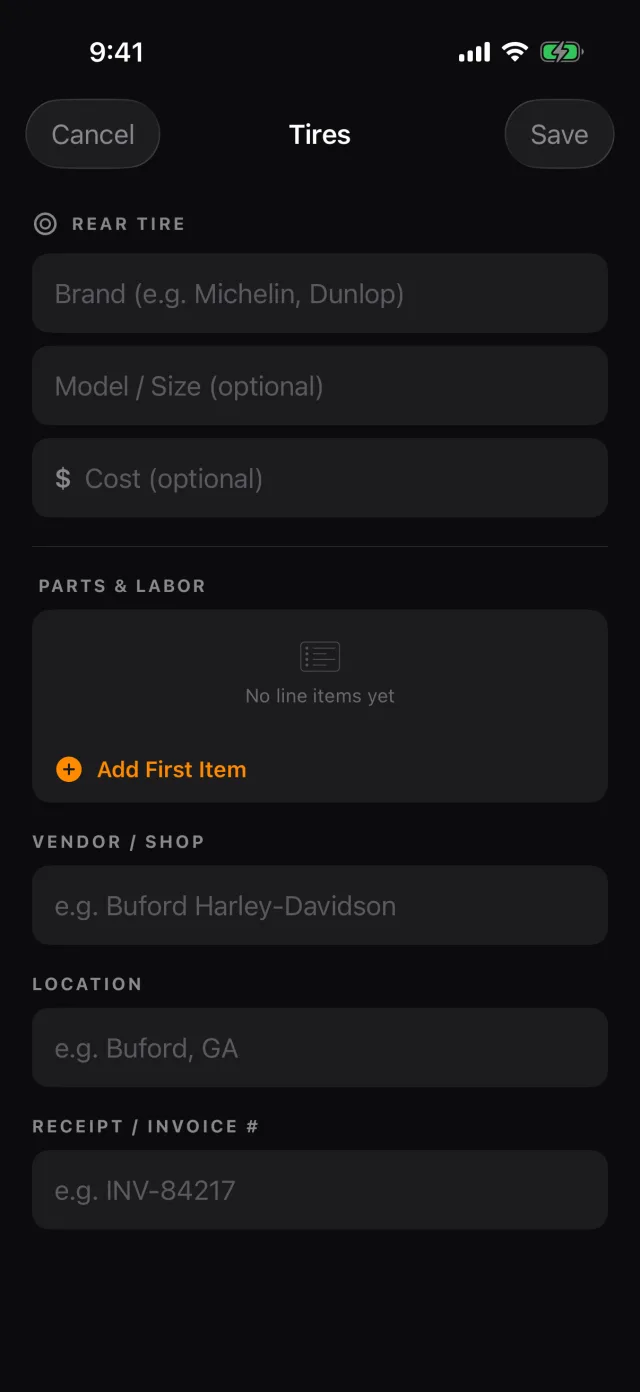
Fill in front, rear, or both. Leave blank whatever you are not logging. A pair changed on the same day is recorded as one visit.
Tip: The brand field is what decides whether a side gets saved. If you leave the brand empty, that side is not written.
Upgrades
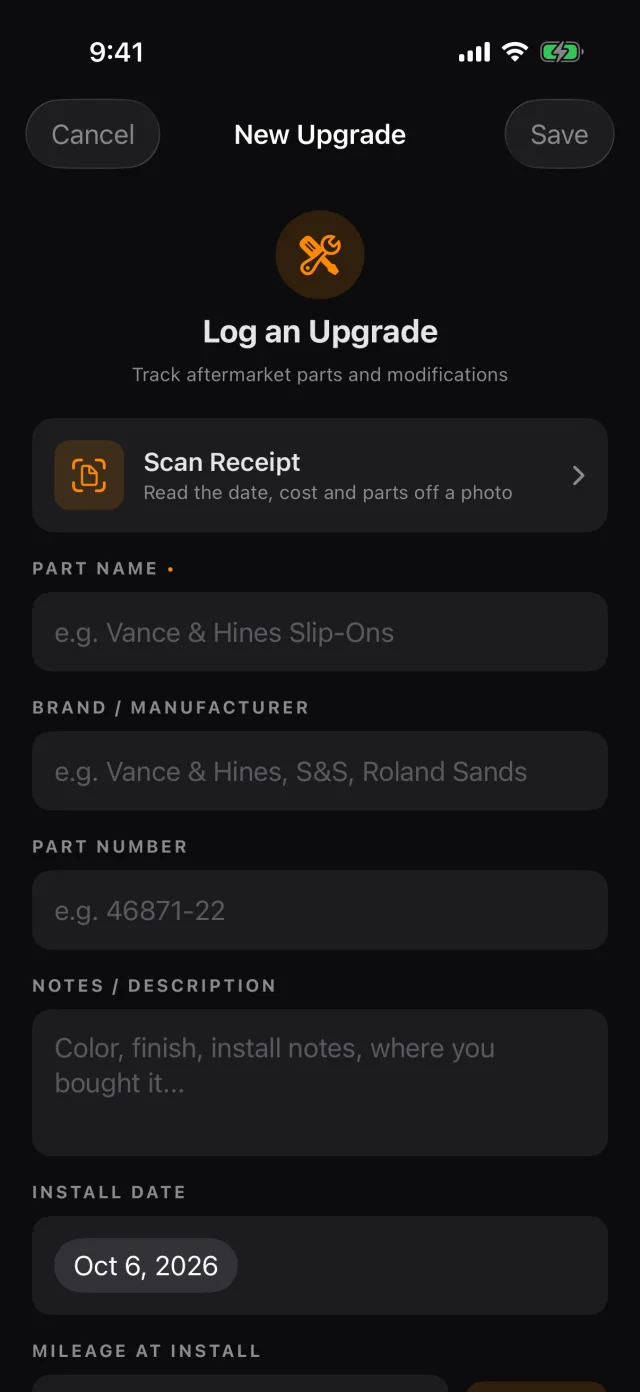
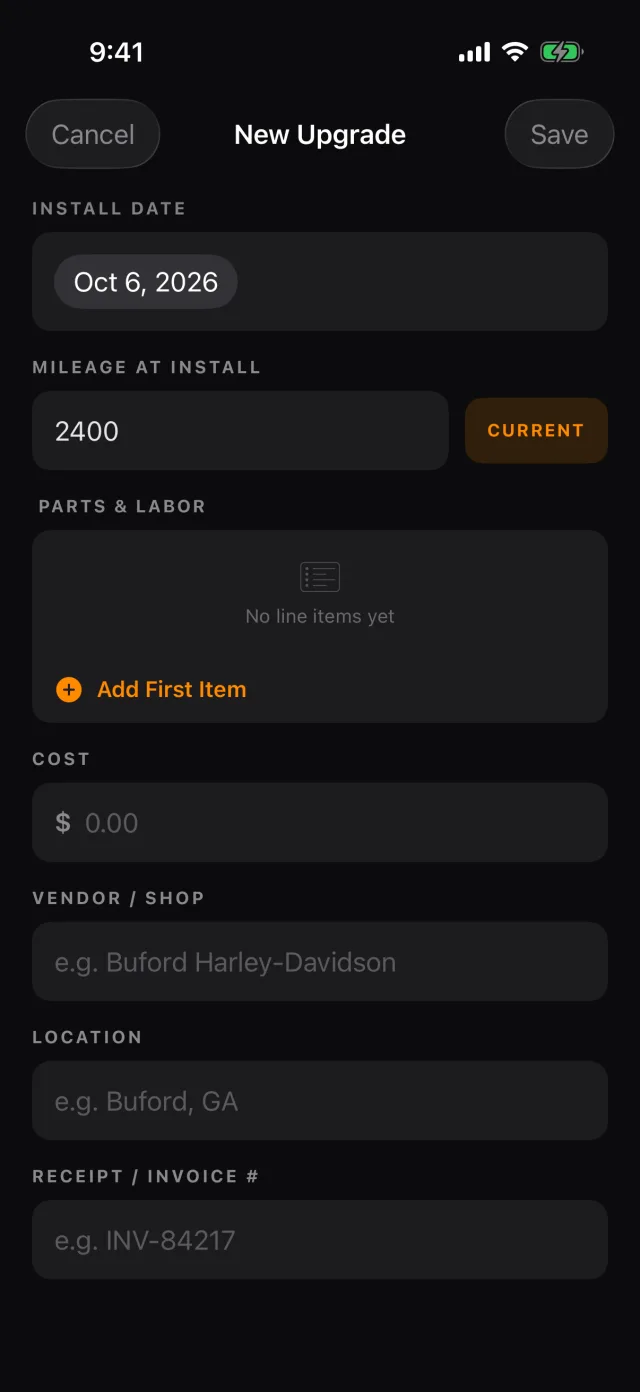
For exhausts, bars, bags — anything you bolted on rather than serviced.
Parts and labour
Every form has a PARTS & LABOR section. Add a line per part, with a quantity and a price, and RIDR totals them. A line with no price shows no price, rather than pretending it was free.
Tip: If the line items and the total disagree, RIDR says so rather than quietly picking one. Tap the figure it offers, or dismiss the note and leave the total as you typed it.
The schedule
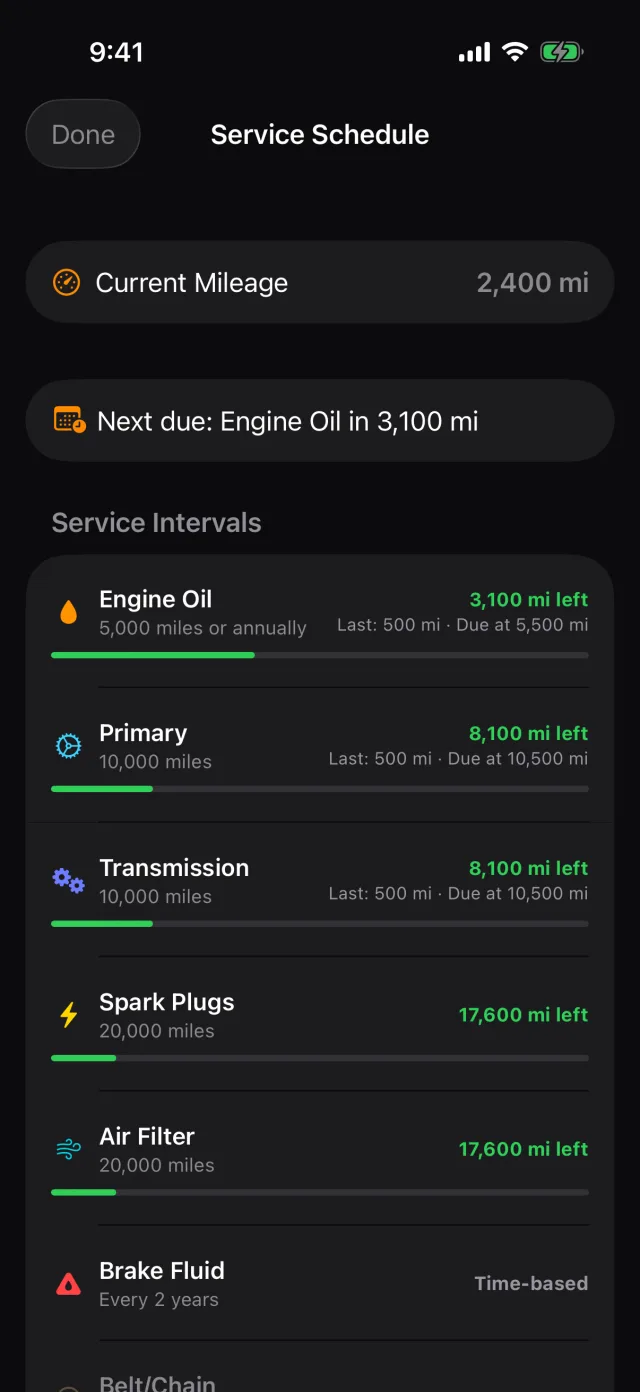
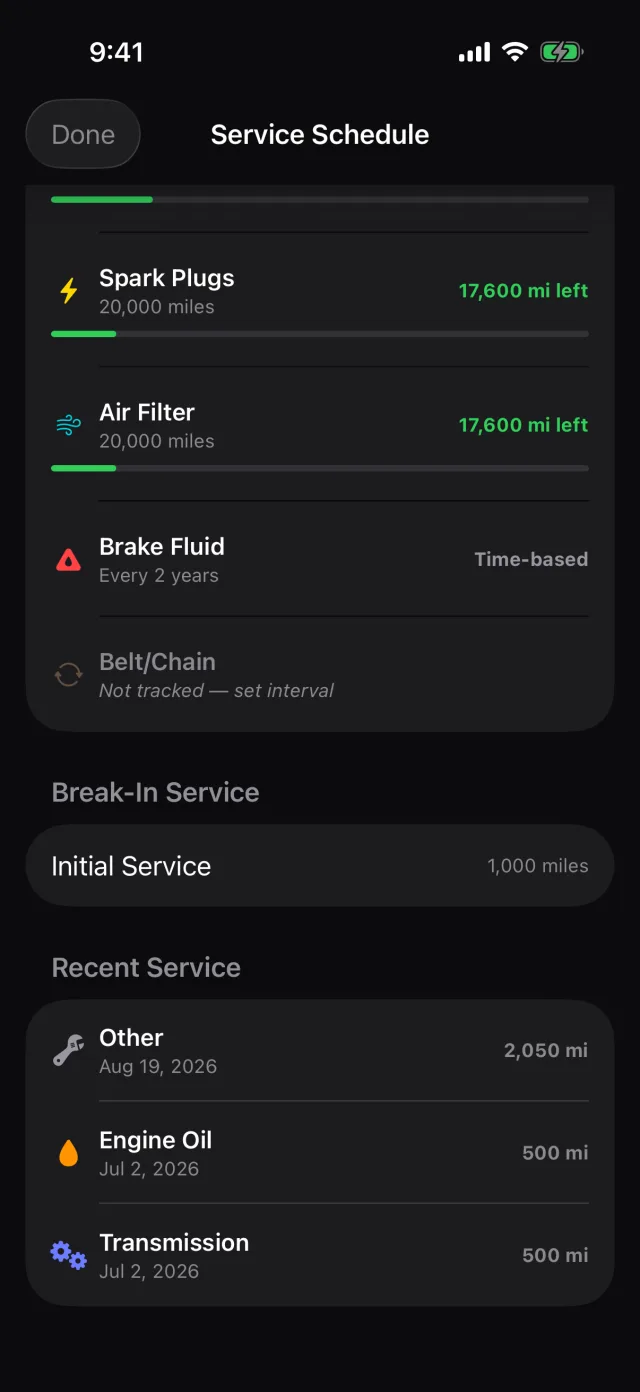
- Each row shows what is tracked, when it was last done, and what is left.
- Tap a row to change it.
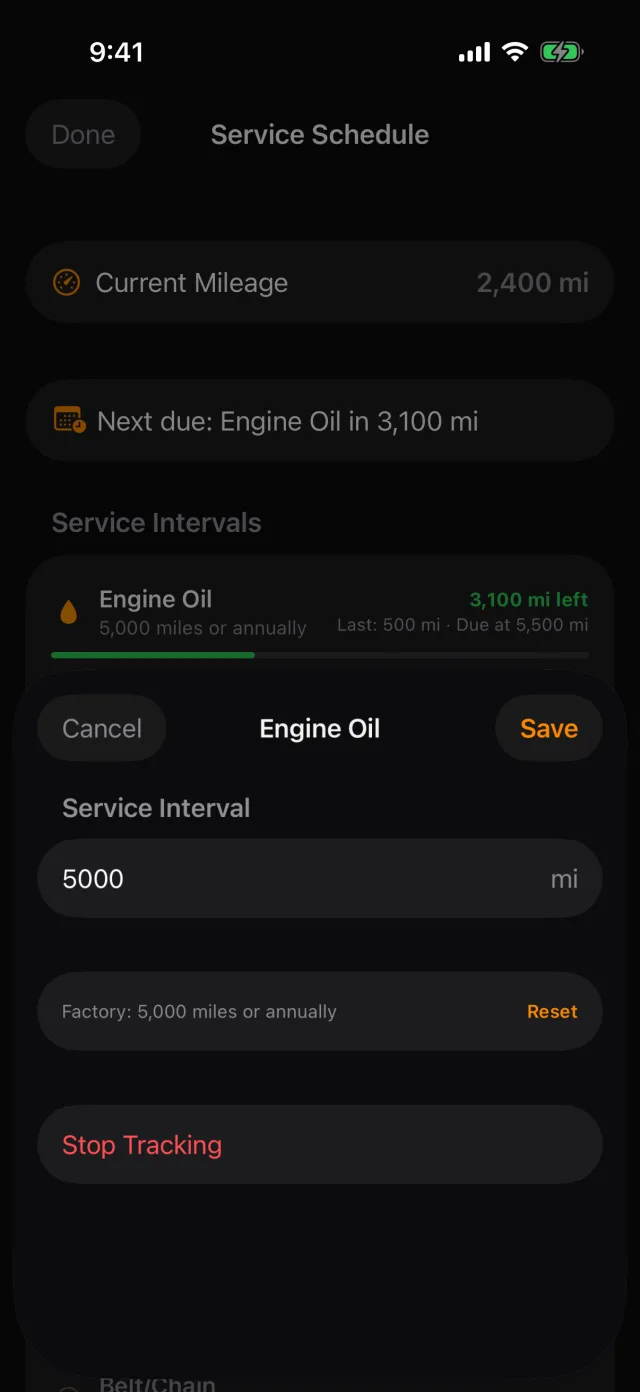
- Type your own interval. The factory figure stays on screen beside it.
- Reset puts the factory number back.
- The Belt/Chain row is the one exception: it opens with a Belt / Chain / Shaft picker above the interval, because the interval depends on which you have.
- Stop Tracking removes the item from the ring entirely — for things your bike does not have, or that you would rather not be reminded about.
Shot from RIDR 3.17 (build 125) · 7 October 2026